Hello and how the hell are you? If this is your first time here thanks for stopping by. In this blog we are going to talk about how to shoot the Milky Way with a crop body (APSC) camera. The one thing that you are going to read and see in videos is that you need a Full Frame body/camera to shoot the Milky Way. While there is truth in that statement the fact is all you need is a camera with a large enough sensor to capture enough light to get a good photo of the Milky Way. You see I fell for the trap of thinking that you need the full frame body to get a great image of the Milky Way.

The fact is when you are out shooting the Milky Way all you need is a APSC camera with a lens that can give you a fstop that is low enough to capture enough light to get a clean image of the night skies. I shoot with a Canon 80d and paired with the Tokina 11-16 f2.8 I can capture the Milky Way with ease. There is just enough light that allows me to see the stars and capture the images that I love the most. The trick all comes down to settings and taking many images of the core. You see even if you have a kit lens that came with your camera like the 18-55 f3.5-5.6 is good enough to get good images of the Milky Way. I have used that exact lens for years to capture the core.
The base settings that you need for shooting the Milky Way are as follows and they are based off two things. The first is knowing how to get the right shutter speed for getting the stars as pin point dots. For this you have to use the 300 rule. This is where you take the focal length and divide it by 300. For example if you are using the kit lens you take the focal length of 18 and divide that by 300 which gives you 16-17 seconds that you should be leaving the shutter open. Now you have to remember that this is a rule for a starting point not a rule that you should shoot every image at.

I tend to start out with this and adjust my shutter speed to what I want out of the image. The rule is designed to get you into the ball park of what you will need for getting stars that are not starting to trail. I shoot with the Tokina 11-16 and I usually end up at around 13 seconds even though by using this rule I start out at 27 seconds. So the point of this rule is so that you can get enough light on the sensor to see the stars. The major problem that you are going to run into when out shooting the stars is star trails. This happens because of the earths rotation. You see we are rotating really fast on our planet and that movement is captured in camera and is called motion blur. The reason that you are keeping the shutter open for a certain amount of time is to keep that motion down to a minimum.
As a Astrophotographer you are going to want to have pin point stars in your frame and yes most of the viewers that also shoot the night skies are going to zoom into your image and call you out if they are not sharp. This is sad in my book because it should be more about how the image looks to the eye of the person that shot the photo rather than how good they took the image.
After you figure out your shutter speed you are going to need to workout how to get focus on the stars. There is three way to go about this the first is the fastest but also the one that you are going to stress over the most. This would be to set your focus before night fall by going out during the day and get focus to affinity and taping the focus ring in place and setting the lens to manual focus. Then hop that you don’t touch the focus ring at all the rest of the day. This method is not a favorite of mine because of two reasons. One if you accidentally touch the ring before the shoot you are assed out of being able to get focus in the field. Two if you forget to do this step you have not learned how to get focus in the middle of the night when its dark and you are done shooting.
The second method is to put the camera into live view and set your lens to manual focus and find a really bright star and make is as small as you can in the center of your frame. This is the method that I use all the time and it to me is the best method to use. I always get pin point stars using this method. The third and final method comes into play if you have a more modern camera body with really good auto focus. I had the Sony a6400 for about a year and when I was out shoot with that I decided to try and see if it worked and to my surprise I was able to use the AF system to focus on a really bright star. My images were just as sharp this way but it came at a price. The method works but not all the time and if you don’t have a light or star that is bright enough you are going to be hunting for focus more than you will get it.

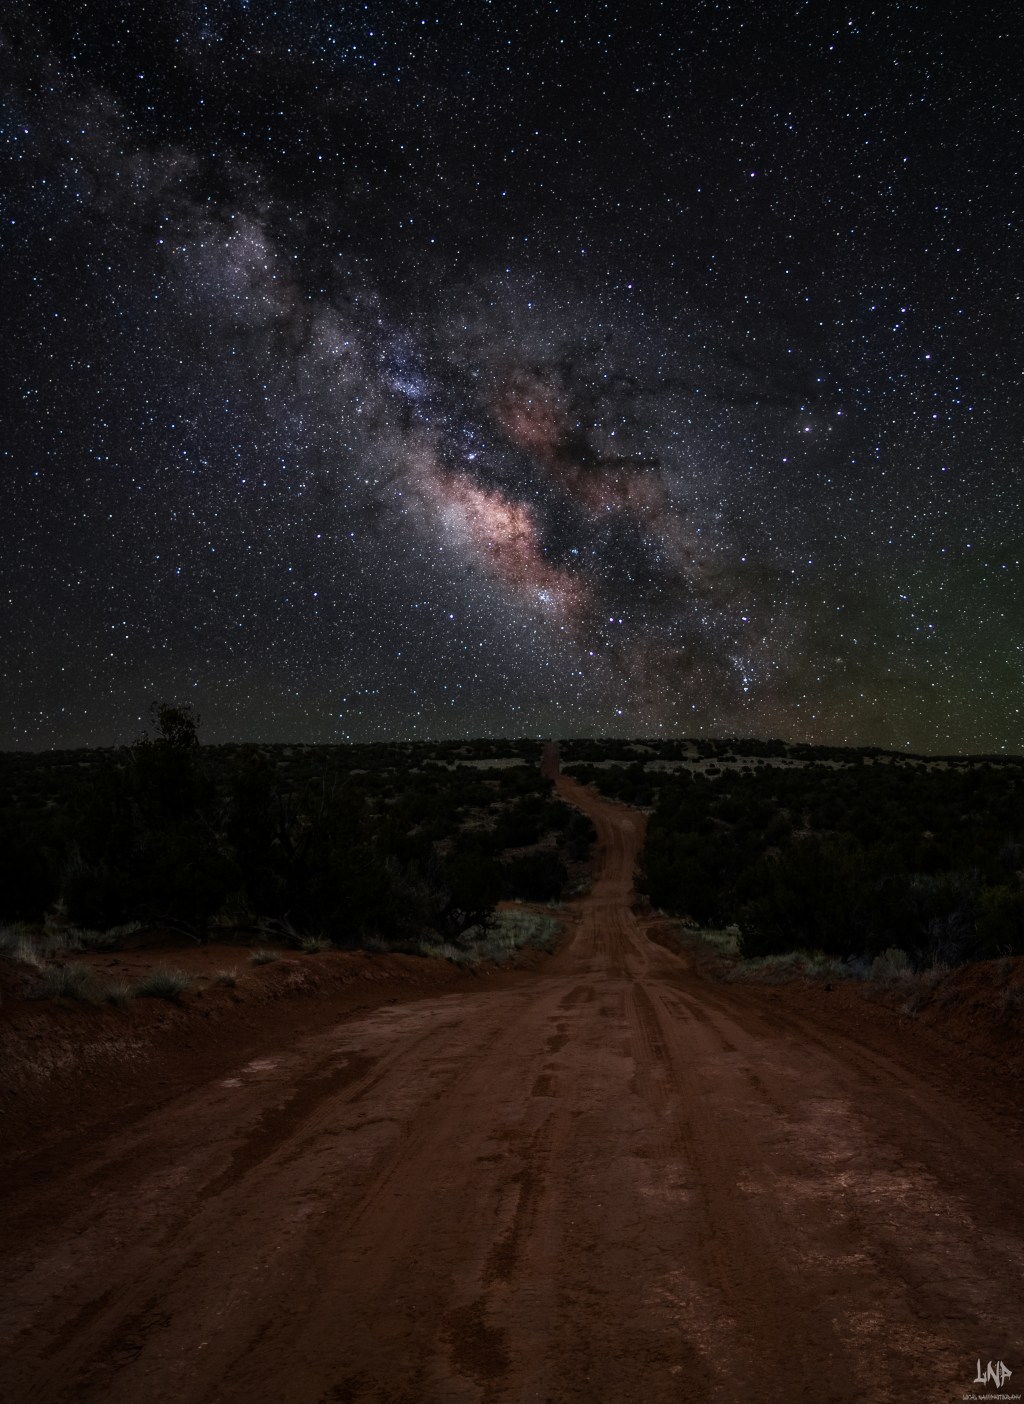
I prefer the second method for getting focus because no matter what camera body I am using this is the fastest and most effective way of getting focus on the stars. When it comes to shooting the night sky you only need a basic DSLR/Mirrorless camera body and a kit lens for either to get the stars. Most people are intimidated by what they hear about how to shoot the night skies so they think that it is really hard. The truth is once you learn what the settings are and how to focus the task of getting an image of the Milky Way is actually really easy. The base settings that I use for shooting the night sky are as follows. Iso 3200, shutter speed of 20 sec, at f2.8 (if you are using a kit lens this will be at f3.5) and my focal length is always going to be the widest at 11-18mm. These settings will get you started and remember to play with the setting to get the most out of the time that you are out shooting. It never hurts to take to many images. I usually end up taking more sky images then I do of the foreground to get the photos that I am after. Thanks again for stopping by and enjoy from St Johns AZ y’all.

Leave a comment