
Hello and how the hell are you? If this is your first time here thanks for stopping by. In the last blog we talked about the best pro setup for landscape photography. This blog we are going to talk about the best pro setup for under $1,500 dollars. This is not going to be your typical blog going over the specs for each item but I am going to cover how this setup works for me and how it gives me more options on shooting out in the field for landscape photos and while shooting a portrait session. The key to this setup being the best all around setup allows you to get wildlife images to dramatic Milky Way images. The key is knowing what gear to buy to get the most out of it.
To start with we will talk about the body that you are wanting to buy. This has to be one that has great AF and allows just enough frames per second to get the shot when shooting wildlife images. This means that you have to have balance in the abilities of the camera. This means that it has to be a jack of all trades and a master of none. The body in question to me is the best camera for all types of photography with great image quality. The other thing that you have to look at is overall cost of the body itself. This means that you have to research which body is going to allow you to track the wildlife and people and for me that camera body is the Canon 80d. At the time of this writing the cost of the body alone is around $600 bucks.

The options that this body will give you is fast AF in live view or through the OVF. The AF is key when shooting portraits and shooting wildlife it has to be fast enough and stay with the subject long enough to get the shot. Then you have to trust the AF will do its job and the 80d has never let me down. As far as features go for the camera there is a bulb timer in it for shooting the super long exposures to blur the clouds as they move through the frame. Then there is a time-lapse mode that gives you either a movie or still frames to make a time-lapse with. The HDR function is there but I have never used it so I cannot speak to how good it is. I call this camera the mini Canon 5D4 because it offers you a lot of the same features as the 5D4. With all that being said you have to pair it with some great lenses to get the most out of it.
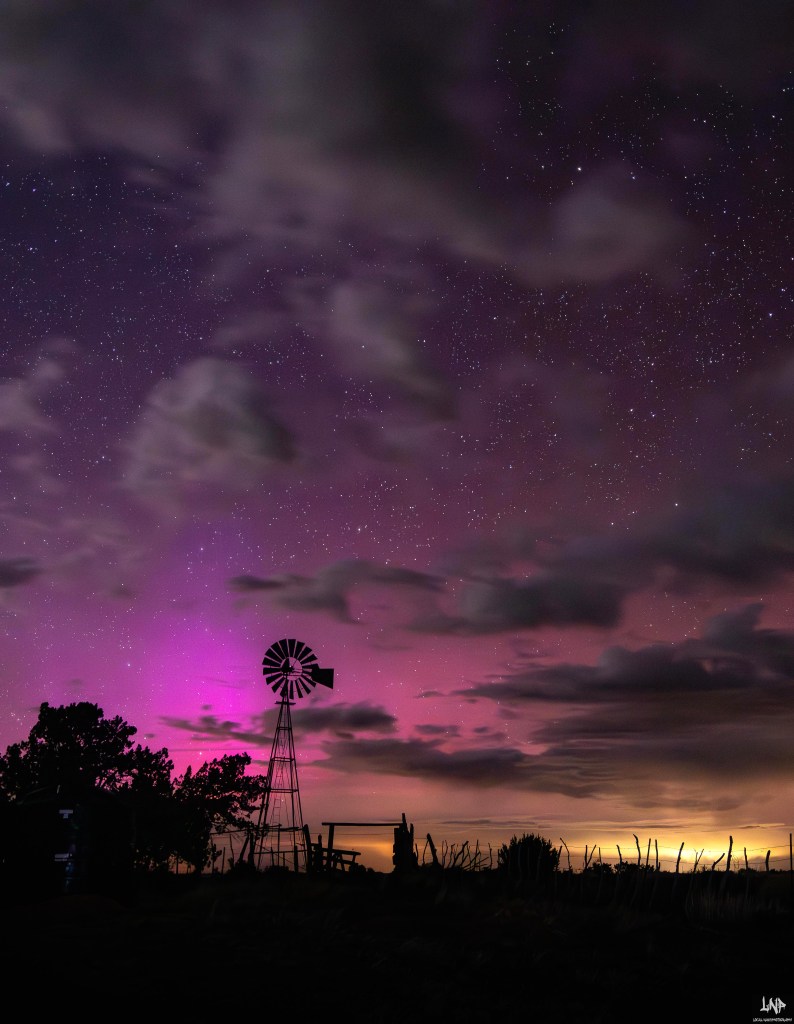
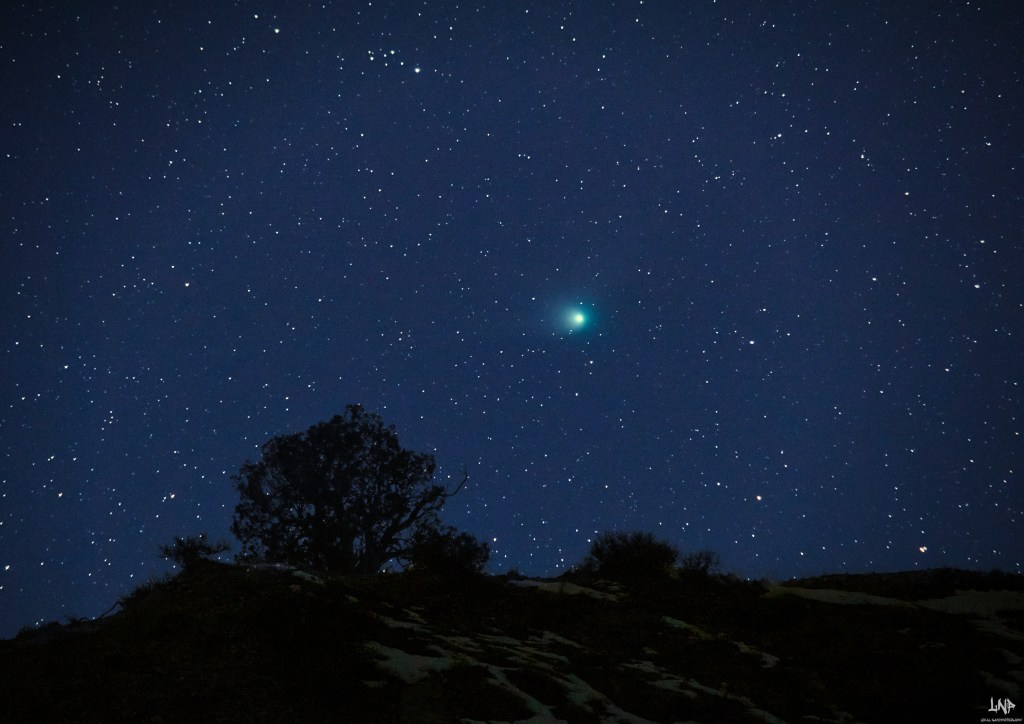
Keeping in mind that we are building the kit on the cheap the lenses have to be good enough to resolve the 24MP camera so they are not going to be too old but they are older than what is out right now. I found that for the Milky Way images that I love to take the ultra wide angle lens to use for this body is the Tokina 11-16 f2.8 $250 dollars. This is the sharpest and easiest to use when shooting at night. Getting focus at night is so fast and easy with this lens. I mean it is so easy that anyone could get great focus with this lens at night. I love the ability to just throw it in manual focus find a bright star and bam you have focus. The only issue that I have with this lens is the flaring that you get when shooting into the sun but that can be over come with ease. The stars are always pain sharp from corner to corner as well at f2.8. So this is hands down the best night lens that I have ever used.
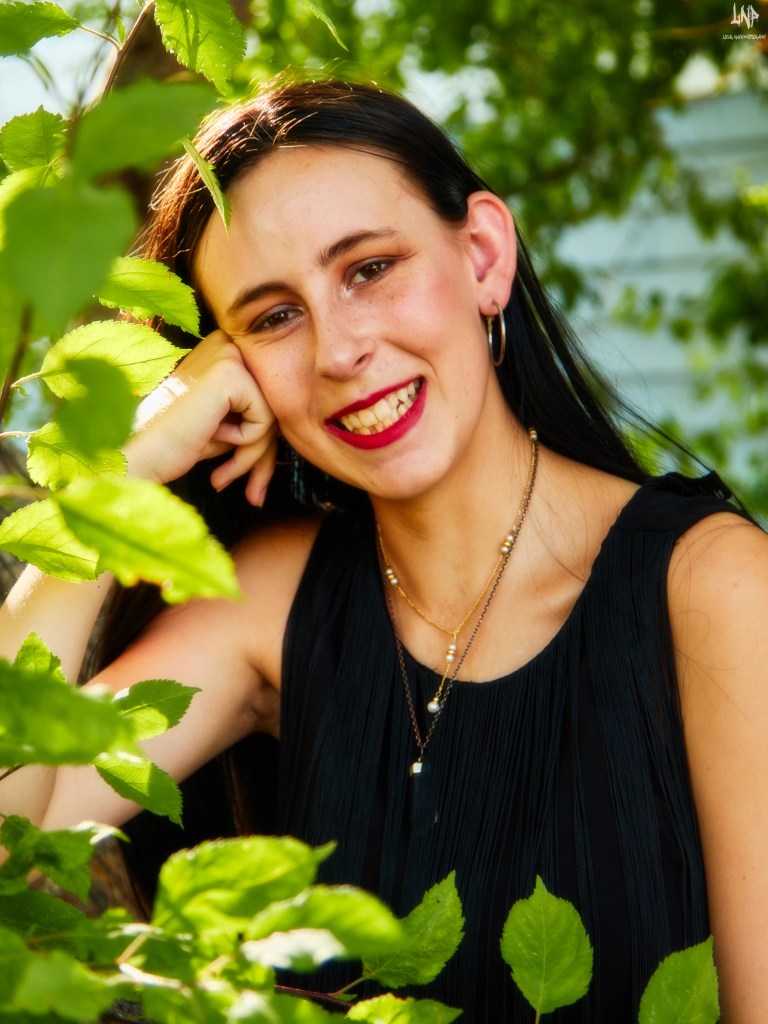
The next lens is again cheap but so sharp that it compares to the Canon 17-40 f4 L lens. There is no image stabilization on it but bumping up the iso will give you the sharpest images out of a budget lens. The Tamron 17-50 f2.8 non VC is the best mid range zoom that I have ever used and the price is perfect for the versatility it offers you. The f2.8 is one of the main reasons that I bought it. This allows me to blow out the background just enough when shooting portraits that it gives you that look that we are all after. The actual cost of the lens as the writing of this blog is only $115 dollars which means that you get a great lens that is sharp and with a f2.8 for dirt cheap.
The Tamron also allows you to shoot the night skies for cheap as well. Now that comes with some issues and in the corners you will notice that the stars look like little arrow heads and that is because of the coma that it has. This is still better than shooting with a kit lens because you get more light let in. Even with all the small issues that you can get past with this lens for the amount of money that you pay for this lens is something that cannot be beat. The fact that you are getting a fast zoom for cheap is something that you cannot pass on.
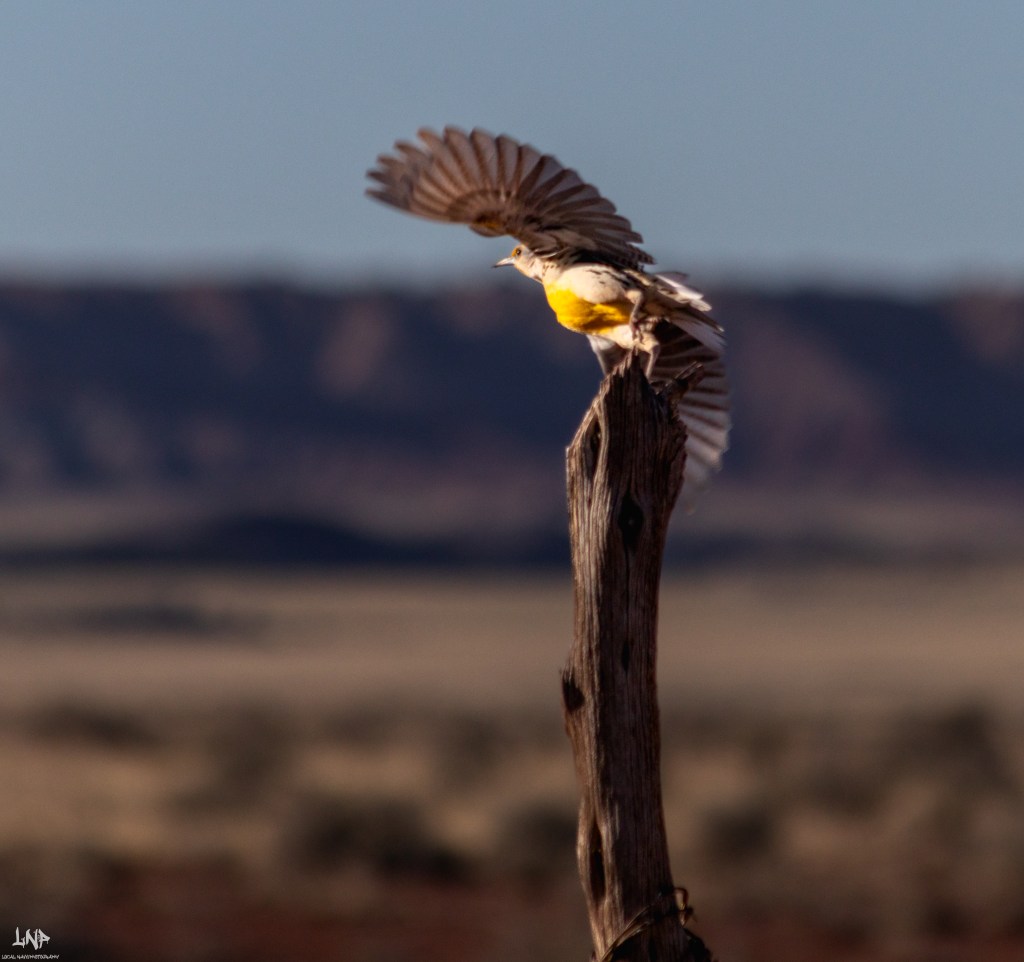
Lets say that you want to shoot some wildlife images and you want great image quality but you don’t want to break the bank. Enter the Canon 70-300 f4-5.6 USM version 1. This lens is sharp from corner to corner and the only way to see that is to test the lens out at all the F-stops to get the sharpest one to use for the lens. I have found that f7.1 this is one of the sharpest lenses that I have ever used for wildlife photography. With all that being said the cost of this lens is just wow. You can get this for around $200 dollars and the range of this lens when you are shooting on a crop body is 112-480 field of view. This means that you have a 100-400 lens for cheap. The images that I have gotten with this are some of the best long lens shots that I have ever taken. The only thing that I can say bad about this lens is that when you try to shoot at f5.6 the whole image is softs you have to step it down to get the best out of it.
When you are out shooting and something happens to your main body you have to have a good backup body. That is where for around $180 dollars you can get the Canon 60d which will hit almost all the marks as the 80d. The fell of the body is almost the same and you do give up on the AF but at the end of the day you can still get the shots. The 18MP is great for the file size of the images is small enough so that you can still use an older computer and not have to worry about it bogging down. The fact that you can have a good camera for under $200 dollars is something that speaks volumes in my book. The 60d was a great body for just about any type of photography that you could think of when out shooting. I used it for years and truly loved the images that I got from it. So to me it is fitting that it is still in my bag.

In total if you set a budget of $1500 dollars and you do some research you can get a pro level setup lenses and all for under the cost of buying the brand new Canon R7 which has a cost of exactly $1500 dollars. The kit that you will have will get you just about any shot that you want to get. The 80d with all the lenses that we talked about is better than getting the R7 with a kit lens. Remember that at the end of the day the gear is only a tool that will get you a chance at getting the shot. You have to learn and practice everyday in order to make sure that the gear you buy is going to help you. I am a person that is budget concise and I hope that this blog post helps you if you are trying to get those pro level results on the cheap because we all know that photography is expensive and to be able to get pro level gear for under $1500 dollars that is something that will pay for itself. Remember that when you start making money from this gear setup you can go out and buy those expensive lenses and bodies. I for one love this setup so much that I am not going to replace them any time soon. I hope that you guys and gals enjoyed this article. Thanks for stopping by and enjoy from St Johns AZ y’all
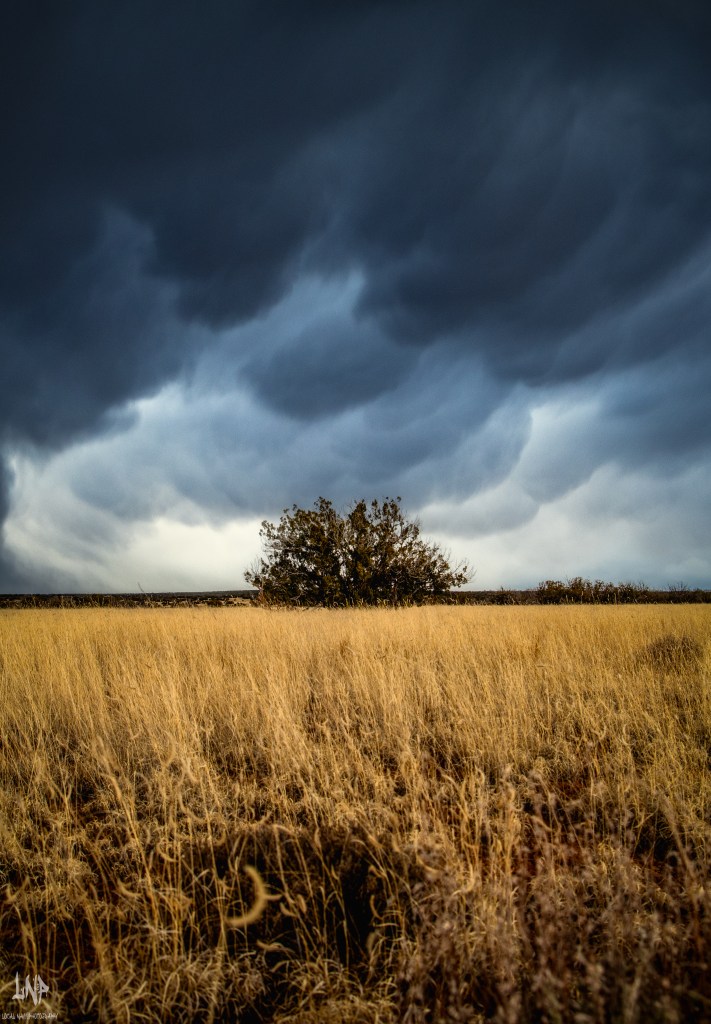
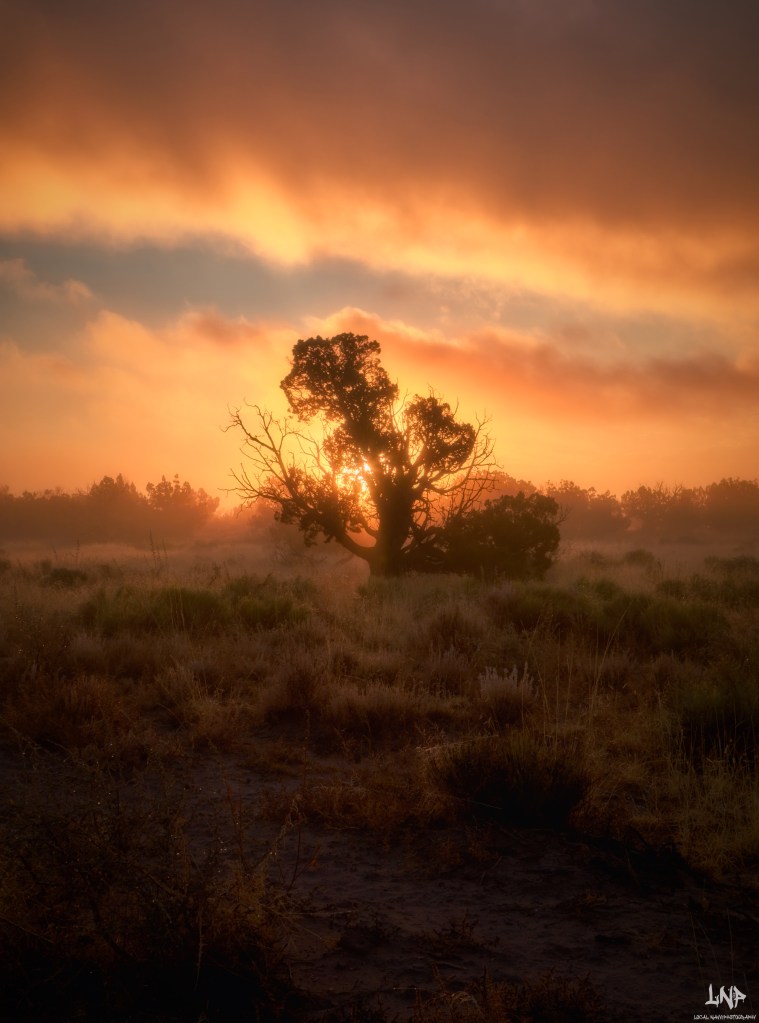
Side note all the images in this blog were taken with the lenses and the camera bodies talked about so you can see the results for yourself.

Leave a comment