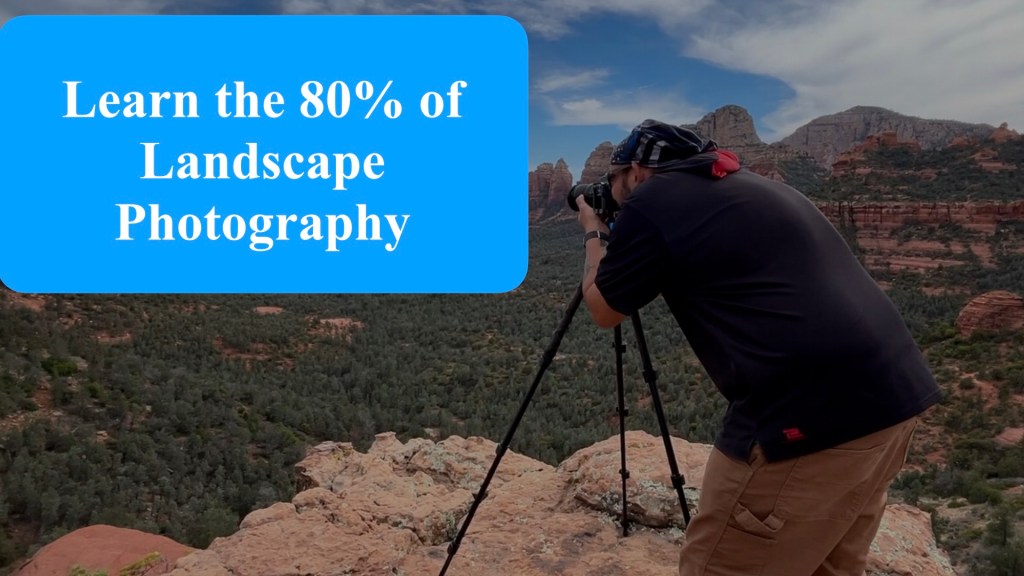
Hello, how the hell are you? If this is your first time here, thanks for stopping by. In this blog, we are going to talk about how to learn 80% of Landscape Photography to get better images out of the gate. If you are reading this, that means that you just bought your very first camera and you are looking to start your adventure in photography. You could also be the person who has started to choose Landscape Photography as your preferred genre of photography. Either way, if you are just starting out or you are a seasoned photographer, there might just be something you can take away from this blog.
The exposure is the key to all photography, but in landscape photography, it is the cornerstone of getting the image right in-camera. The exposure triangle is the key to getting that exposure right. To start with, in landscape photography, we tend to work with a larger depth of field, so that means we are going to be working with higher f-stop or aperture. For example, f8 is going to give you more depth of field or more in focus than f2.8. If you are struggling to see why the lower f-stop (f2.8) gives less depth of field, it’s because the aperture hole in the lens is wider than at f8. If you think of it like gauged wires, a larger gauge like 6 is larger than a gauged wire of, say, 20. The larger the f-stop, the more is in focus, and the smaller the f-stop, the less is in focus.
The depth of field gives you a plan of focus throughout the image. So, if you are at f2.8, the plan of focus is going to be smaller, kind of like how thin a door frame is. If you want the whole room in focus, not just the far wall, you need to step it down or go with a larger f-stop to ensure that all of it is in focus. Like I said, when shooting landscapes, we tend to go for more in focus vs shooting portraits where you want that background to be blurred out.

When it comes to shutter speed, we as landscape photographers tend to go with slower shutter speeds due to the fact that our subjects are not typically moving. They are the landscape, and the most that we have to worry about for motion is the wind moving the leaves around. So to combat that, we usually shoot at a maximum shutter speed of 1/250th of a second. This will be fast enough to stop the branches from moving in the photo. The typical shutter speeds for most of our work are going to be at 1/30th of a second or the slowest shutter speed that you can use when shooting handheld.
The last part of this is going to be the ISO, which is not even a physical aspect of your camera; it is just how sensitive your camera is to the light. If you want a brighter photo, raise the ISO to a higher number, and the camera will see more of the scene. If you want the image darker, then you lower the ISO to correct the brightness of the image. The ISO also is in control of the noise in the images, which looks like little pieces of sand when shooting at an extremely high ISO. When the ISO is at the lower end, there is a heck of a lot less noise in the image.

As a landscape photographer, you will typically be shooting at ISO 400 or less to get the most noise-free images. I tend to shoot between ISO 400-800 as I like the noise that comes into my images; it gives it that filmic look to them. For the most part, more of you are going to be shooting around ISO 100-200 to get those noise-free images. The ISO is the backbone to getting the balance in a photo.
When you take the shutter speed and the aperture to get them perfect, then you can balance out the exposure using the ISO to define the shadows. I say that because with a higher ISO, you are going to see more in the darker parts of the images in my opinion, and that is why I also tend to be shooting at a higher ISO in the middle of the day. The last thing that we are going to talk about is the forgotten part of the exposure. The meter, when shooting in manual like we are, you are going to need to use the meter to see what your exposure is going to be. Yes, in live view on most modern cameras, the LCD on the back or the electronic viewfinder is going to change with every click of the buttons for exposure. What if I told you using the little lines at the bottom that look like this: -3…-2…-1…0…1…2…3

The goal with the meter is to keep the arrow that is going to be at the bottom of that chart at zero. This will give you a really good exposure after the shot. This method I have been using for years to get my images just right. The meter is the one thing that is going to get you better exposed images right out of the gate. For me, I tend to use matrix metering, which looks at the whole scene and reads all the light from the highlights to the shadows.
To get the proper exposure, there are actually four components to look at for a balanced exposure, and if you are not taking into account the meter, then you are going to have a hard time understanding what the exposure is going to look like. The meter is the one thing that I have found most people leave out of their explanation of the exposure triangle. Which is odd because the exposure triangle really leaves out how to see the exposure before you take the photo; no one ever covers the meter and how to see the exposure before you take the shot.
Blog focuses on learning 80% of landscape photography basics to quickly improve images.
Intended for beginners with a new camera or photographers choosing landscape as their main genre.
Even seasoned photographers may find useful takeaways.
Exposure as the cornerstone of landscape photography
Exposure triangle = aperture, shutter speed, ISO.
Mastering these gives better images straight out of the camera.
Aperture / Depth of Field
Landscapes need larger depth of field (more in focus).
Use higher f-stops (e.g., f/8) for sharpness throughout the frame.
Lower f-stops (e.g., f/2.8) create shallow focus, better for portraits.
Analogy: wide vs narrow door frame — higher f-stop = more of the scene in focus.
Shutter Speed
Landscapes often allow for slower shutter speeds since the subject doesn’t move.
Concern is mostly wind moving leaves or branches.
General guide:
1/250s or faster stops motion.
1/30s is about the slowest handheld limit.
ISO
ISO = sensor sensitivity to light (not physical, but digital adjustment).
Higher ISO = brighter image but more noise.
Lower ISO = cleaner, noise-free image.
Typical ISO ranges for landscapes:
ISO 100–200 → noise-free, crisp.
ISO 400–800 → adds texture/“filmic” look (personal preference).
ISO balances shadows and exposure once aperture/shutter are set.
The Exposure Meter (the “forgotten” tool)
Most tutorials skip this, but it’s crucial.
Meter scale: -3 … -2 … -1 … 0 … +1 … +2 … +3
Goal: keep the arrow at 0 for a balanced exposure.
Works even before taking the photo (preview of exposure).
Matrix metering is useful for landscapes since it reads the entire scene.
Key takeaway
Proper exposure in landscapes comes from balancing aperture, shutter speed, ISO, and the meter (the “fourth” element).
The exposure meter helps predict and perfect the image before pressing the shutter.

Leave a comment