Hello, how the hell are you? If this is your first time here, thanks for stopping by. In this blog, we are going to talk about how to achieve the perfect white balance for any genre of photography. Why is white balance important? Can you edit your images better with the perfect white balance? What is the big deal with getting the proper white balance?

When researching for this post, I had to watch and read several videos and web pages on what white balance is and how to achieve it in your images. This gave me the insight that white balance is the base for starting your color grading in all photography. This is the key for getting the tones just right to get your colors aesthetically pleasing for others to see. Once you achieve the perfect white balance in your images, it will give you the ability to accurately get the colors right.
To achieve the perfect white balance, there are several ways to get there. You can use the color eye drop, the histogram, or use the different modes in Lightroom that give you a good starting point. All of these tips online give you a broad way of doing them, and even then, you are not getting close to what you want out of your images. I have always struggled with getting my white balance perfect in my images. The skin tones were always off, and I could never understand why. I was lost on getting my images looking better.

Getting the white balance perfect gives you a great starting point for getting the colors right and no need to go back and adjust them after the fact. The best way to start getting your white balance perfect is to set your white balance in the camera at 5000k or daylight setting. This will give you a good starting point in getting your white balance at a good starting point for editing. Once you have this baked in your RAW file, you will then be able to start the art of getting white balance perfect.
You see, one of the hardest images to get white balance perfect is shooting a Milky Way photo. There is such a lack of color in that image that your camera is either going to make it really blue or purple. Then you also have the other end where you get a really green or yellow image. The camera has a really hard time reading the scene to get the white balance right in-camera. So when you go to post-process the photo, you have to get the base image just right. When you achieve the perfect white balance in any image, they are going to be so flat they look almost like a black-and-white photo.
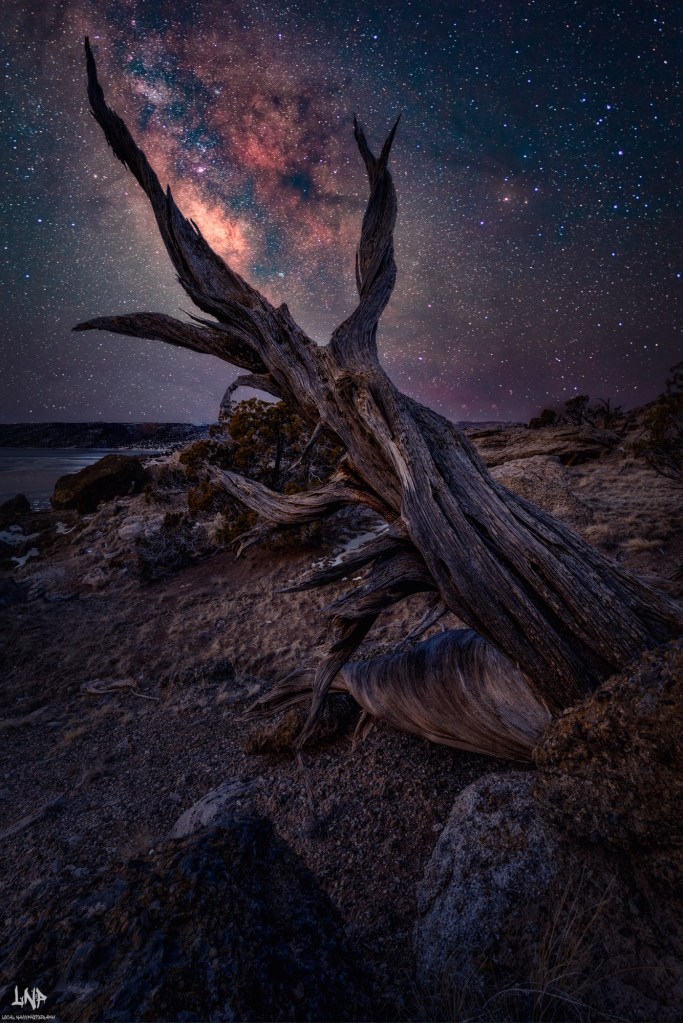
Once you achieve this very flat, almost black-and-white image, you can then start your color grading and get those colors to pop. I took the approach from getting my white balance for my Milky Way technique to all my images, and let me tell you this worked so well that I will never ever go back to editing any of my images for white balance any other way. To start with, you need to set your camera to 5000k and keep it there. Yes, for a blue-hour photo, it is going to look very yellow, and a sunset image, it is going to look very orange, popping those warmer tones. Once you have the camera set and you took the photo and start editing the photo.

You simply have to crank that vibrance and saturation sliders up to 100. At this point, you are going to see how this works. Yes, it is going to be very punchy and either really yellow or really blue. You are also going to have a very magenta or very green-looking image. So now you are asking how is this going to help me with getting it to a very flat, neutral-looking image? At this step, you need to go back to the warmth and tint sliders and start to balance out the colors.
If you go to the warmth slider and move it either to the yellow or the blue hues, you will see the photo balance out the yellows and blues in the photo. What you are trying to achieve is a perfect balance of fifty percent yellow and fifty percent blue in the photo. This is the point that you want to go to the tint slider to the same point of fifty percent green and fifty percent magenta. Once you have achieved the perfect balance of the four main colors, you can then go back to the vibrance and saturation sliders back to zero. This will give you that very neutral and flat-looking image.
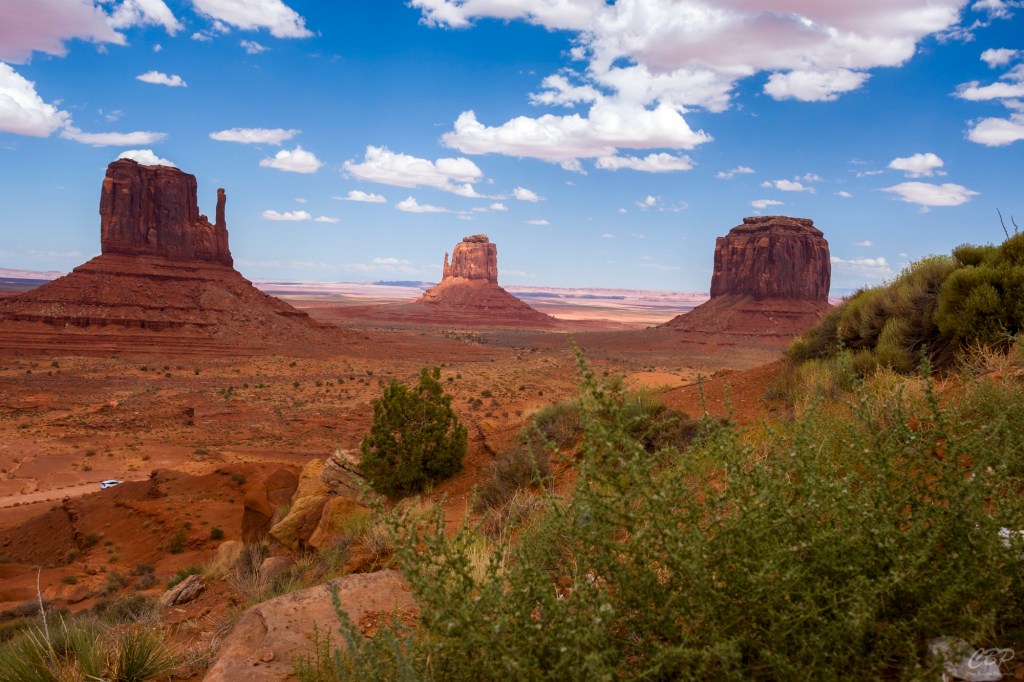
That’s it, your white balance is now set for starting your color grading and giving your images the perfect white balance. I have been using this technique for the last five months, and it has given me results that allowed me to really get my style down for my editing. I have been able to achieve the perfect white balance from my Milky Way images to my portraits to my landscapes. There really is no image that this will not work on. In fact, there is only one other person online that is saying this same thing, and he as well shoots the Milky Way and uses this for all his images as well. This is a proven and very good technique for achieving the perfect white balance for any photo. Give it a try and let me know how it works for you in the comments.

Leave a comment